
Fall is here! It’s time to make a fabulous pumpkin drawing. This guide helps artists of all levels create a fantastic fall picture.
A detailed step-by-step illustration of a pumpkin drawing tutorial showcasing the process from initial outline sketching to shading and final details, with various stages clearly visible, highlighting different techniques and tools used in a warm autumn color palette.
We’ll show you how to pick a good image to copy. You’ll learn to sketch and color your pumpkin just right.
We’ll teach you to add depth to your drawing. You’ll also learn how to make your pumpkin picture memorable.
Soon, you’ll be able to draw pumpkins that wow everyone. Your art will capture the magic of autumn.
Introduction to Pumpkin Drawing
Pumpkin art has a long and fascinating history. Ancient civilizations used pumpkins as canvases for intricate drawings and carvings.
Today, pumpkin drawing still captivates artists and enthusiasts. It offers a unique way to explore creative expression.
Learning pumpkin drawing can be fun and rewarding. It’s great for both seasoned artists and beginners.
Essential supplies are key to creating stunning pumpkin artwork. Pencils with different leads allow for precise linework and shading.
Quality paper or pumpkin surfaces provide a base for your art. Markers, colored pencils, or paints can add vibrant colors.
With the right supplies, your pumpkin art possibilities are endless. Let the pumpkin be your canvas for artistic expression.
Choosing the Right Reference Image
Picking the perfect reference image is key for a fantastic pumpkin drawing. You can use real pumpkins or photos for your artwork.
Look for high-quality images showing pumpkin details and shapes. Check the lighting, shadows, and texture in the photos.
Observational sketching helps you understand the pumpkin’s form better. Study the pumpkin closely to improve your drawing skills.
Find an image that inspires you to capture the pumpkin’s essence. Try different sources to find what suits your style best.
Step-by-Step Guide to Sketching Your Pumpkin
Let’s start with the basics of pumpkin sketching. Draw simple shapes to form your pumpkin’s foundation.
Begin with a circle or oval for the body. Add a stem at the top.
Use curved lines for the pumpkin’s ridges and grooves. This will create a realistic texture.
Now, let’s add depth to your pumpkin sketch. Use shading to show light and shadow.
Try different pencil strokes to get the effect you want. Blend smooth areas and add bold marks for texture.
Look closely at your pumpkin’s surface. Add small details to show its unique character.
Notice subtle changes in color and texture. These details will make your pumpkin sketch stand out.
Choosing Your Color Palette
Selecting the right color palette is key for your pumpkin drawing. Explore autumn hues and pumpkin color schemes to capture the season’s essence.
Try rich, earthy tones or vibrant shades for captivating autumn color palettes. The options are endless for creating eye-catching pumpkin drawings.
Use creative coloring techniques to bring your pumpkin to life. Blend complementary colors like orange and blue for depth and dimension.
Try bold, contrasting shades to make your pumpkin stand out. Or use muted, monochromatic palettes for a subtle, sophisticated look.
Create a cohesive and visually appealing color scheme for your pumpkin. Let your imagination run wild as you explore autumn color palettes.
With some experimentation and artistic flair, you’ll craft a stunning pumpkin drawing. Your artwork will truly capture the magic of the season.
Techniques for Shading and Depth
Master shading to create stunning pumpkin drawings. Learn techniques like cross-hatching and color blending to add depth and dimension.
Cross-hatching builds shadows and creates volume. Overlap lines to make patterns and gradual light-to-dark changes.
Try different line directions, densities, and thicknesses. This will help you get the shading effects you want.
Blending makes smooth gradients and soft edges. Use a blending stump or your finger to smooth out light and dark areas.
Blend colors to show the pumpkin’s shape and shadows. This brings your drawing to life.
Good shading comes from understanding light and shadow. Look closely at your reference image.
Notice where the light comes from and how strong it is. Use this to show the pumpkin’s form and depth.
Adding Personal Elements to Your Drawing
Make your pumpkin drawing unique. Add personal touches that show your style. Try new shapes or fun backgrounds.
Create a spooky or whimsical design. Add a haunted house or starry sky. These creative drawing ideas can make unique Halloween art.
Use different art tools. Try colored pencils, markers, or paint. Play with shadows and textures for depth.
Let your personality shine through. Your pumpkin will be memorable. It will show off your unique Halloween art skills.
Finalizing Your Pumpkin Drawing
Review your pumpkin drawing carefully. Look at the details, colors, and overall composition.
This refining the artwork step is key for a professional look. It helps make your drawing look polished.
Adding your artist’s signature is a fun step. It makes your drawing personal and shows your skill.
Try different signature styles for your pumpkin art. You could even add it to the pumpkin design.
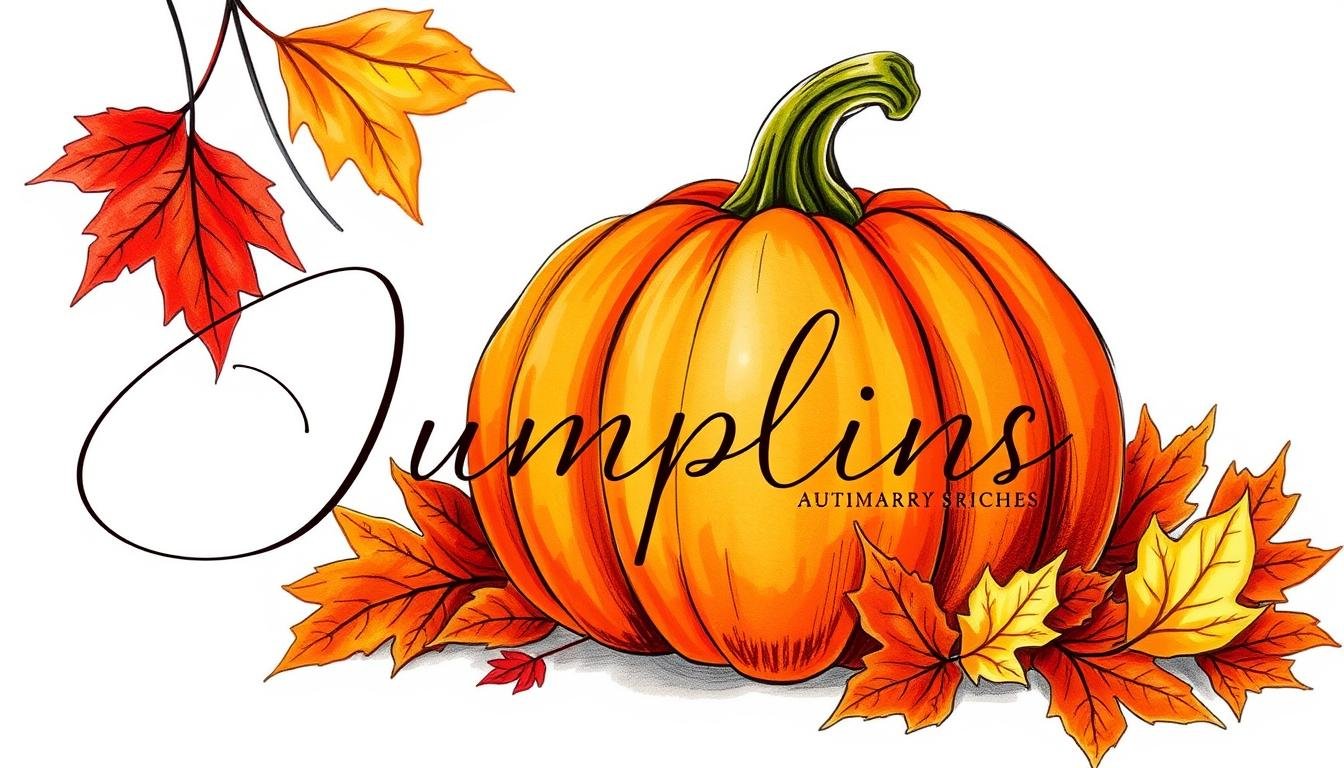
A beautifully detailed artist signature in an elegant cursive style, seamlessly blending into a vibrant pumpkin drawing, surrounded by autumn leaves and warm colors, evoking a cozy fall atmosphere.
Enjoy creating your pumpkin drawing. Don’t rush, and make changes if needed.
With care and attention, you’ll make great art. Your pumpkin drawing will show your unique style.
Conclusion and Sharing Your Artwork
Great job on finishing your pumpkin drawing! Now it’s time to show off your fantastic creation.
The internet has many places where you can display your artwork. You can also connect with other artists for helpful feedback.
Share your pumpkin drawing on art websites and social media. Instagram, DeviantArt, and ArtStation are great for getting comments from other artists.
Ask for feedback to improve your drawing skills. It’s a fantastic way to grow as an artist.
You can also put your work on your website. This helps people find and enjoy your art.
Sharing your art is about more than showing off. It’s about connecting with others and growing as an artist.
FAQ
What are the essential tools and materials needed for creating pumpkin drawings?
You’ll need pencils, paper, erasers, and coloring tools for pumpkin drawings. A pumpkin reference image can also be helpful.
How do I choose the right reference image for my pumpkin drawing?
You can draw from a real pumpkin or use an online photo. Real pumpkins offer accurate details, while online images provide more options.
Combining both methods can give you the best results.
What are some techniques for sketching pumpkins step-by-step?
Begin with basic shapes to outline the pumpkin’s form. Then, add details and texture gradually.
Use cross-hatching and blending to create realistic shadows and highlights.
How can I choose a color palette that enhances my pumpkin drawing?
Look at natural pumpkin colors and complementary hues for visual interest. Try mixing colors to find your perfect palette.
What are some ways to add personal elements to my pumpkin drawing?
Add background elements or unique expressions to make your drawing memorable. You could create a spooky setting or give your pumpkin funny features.
How do I finalize and share my pumpkin drawing?
Make final tweaks and sign your artwork. Share your drawing online to get feedback from other artists.
You may also read: How to Cut a Pomegranate: Easy Steps & Tips